
Installing Devstack
Today I am installing Devstack on my home workstation. For those unfamiliar with Devstack, it is collection of scripts that will build a complete OpenStack environment on your machine. OpenStack is a set of tools for building and maintaining public or private clouds. Devstack can be used interactively as a development and testing sandbox for OpenStack.
I will be running Devstack in a virtual machine. During my first installation attempt I actually ran out of space on the virtual disk I allocated for it. The docs fail to mention how much space to allocate for for Devstack. The general consensus I came across was a recommendation of >50GB. Quite a large environment. I created a virtual disk on a large HDD drive and ran the install again.
The installation itself is quite simple; just clone the master branch from the Devstack repo and create a file namedlocal.conf in the root of the cloned devstack/ directory. My local.conf was very basic, just enough to get it running:
[[local|localrc]]
HOST_IP=my.vm.ip
ADMIN_PASSWORD=yourpasswork
DATABASE_PASSWORD=$ADMIN_PASSWORD
RABBIT_PASSWORD=$ADMIN_PASSWORD
SERVICE_PASSWORD=$ADMIN_PASSWORD
My troubles did not end there, however, the installation of Cinder (the block storage component of Openstack) failed as well, due to what I think was not having the most recent version of Python installed on my machine. Swore I updated. Anyway, It was fixed by running:
$ virtualenv /opt/stack/requirements/.venv/
After this Openstack was successfully installed on my machine.
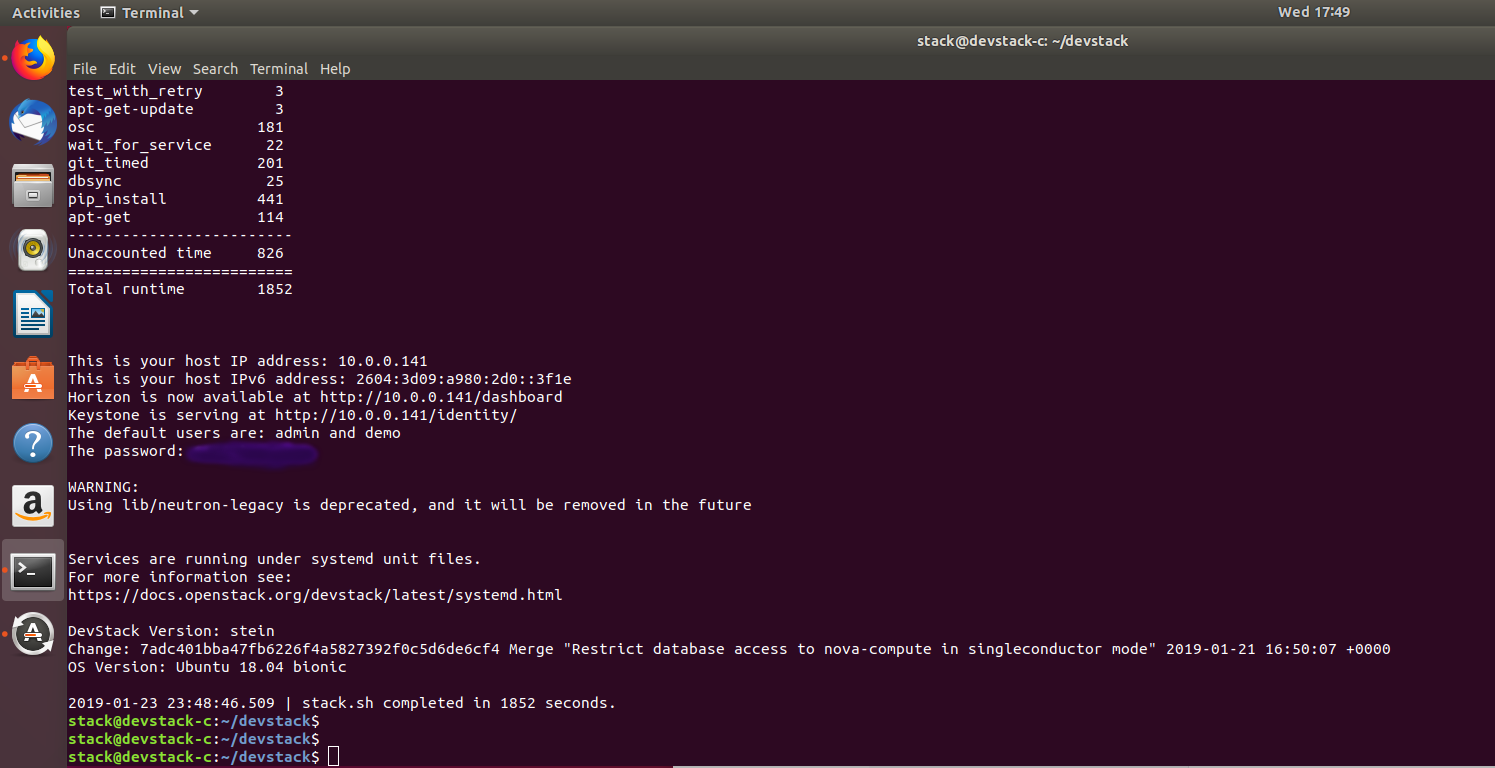
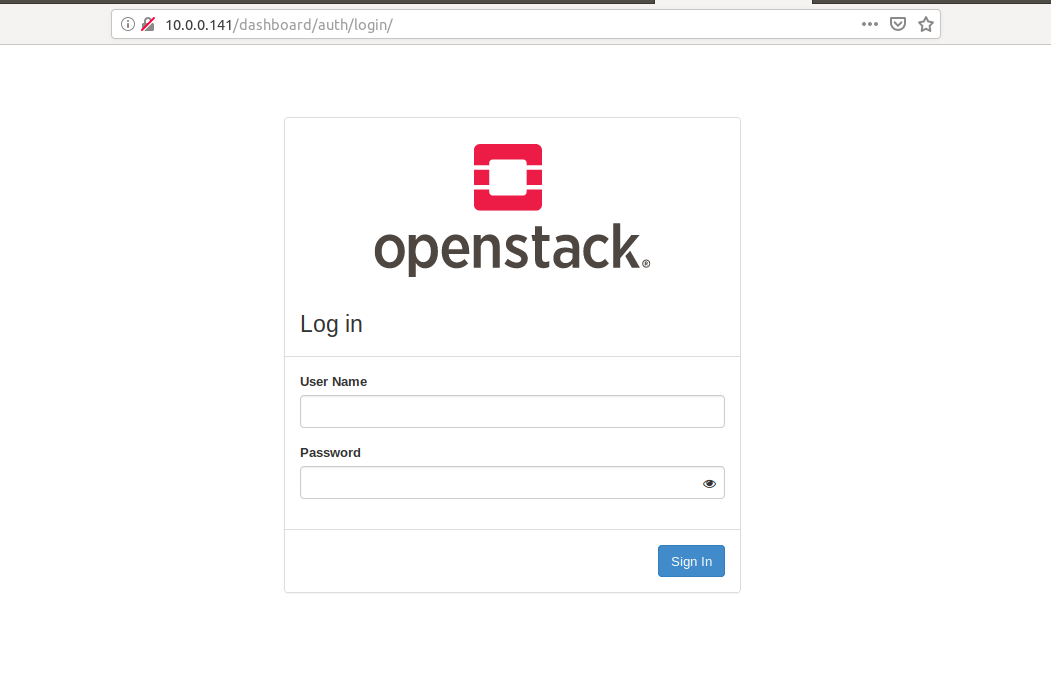
Once installed you can login to the Openstack Dashboard a.k.a Horizon via your browser by going to the IP specified in your local.conf file and logging in as admin with the ADMIN_PASSWORD.
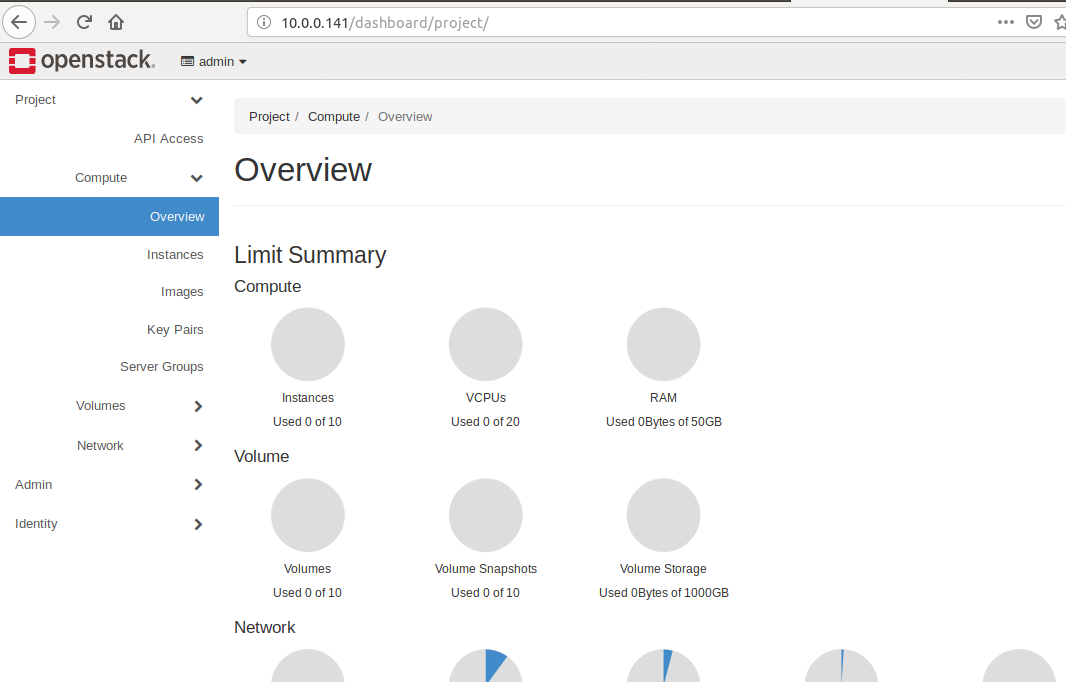
Once logged in you you will be presented with a graphical interface (Horizon)to launch instances, create data volumes, manage networks and acces keys, etc.
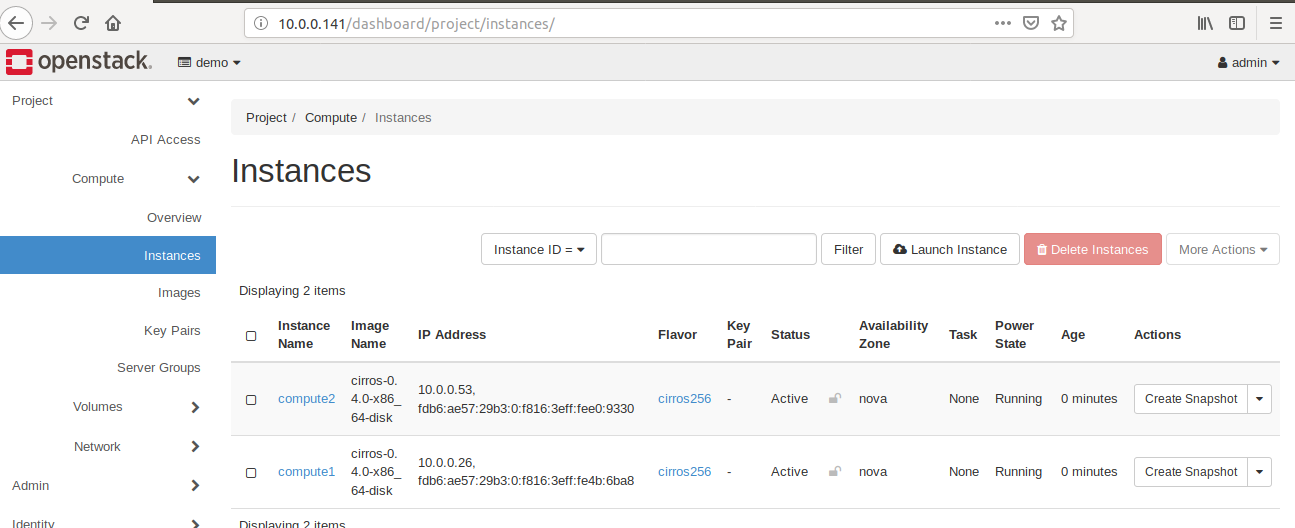
After creating and configuring the network to allow ssh access by adding a rule to security group, I started by launching 2 instances, using the default included CirrOS image. You can upload your own images as well.
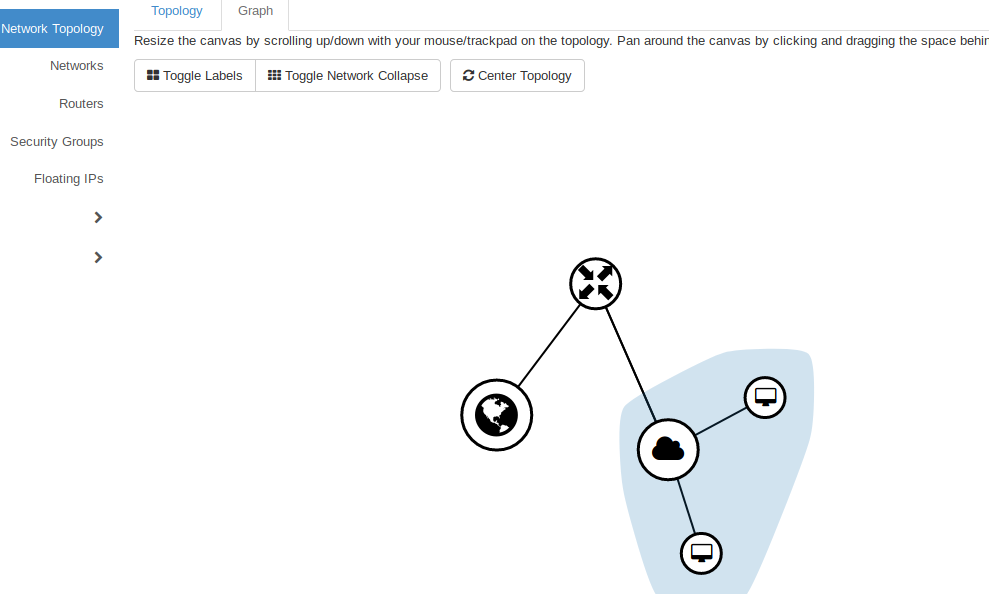
The Horizon dashboard is extensive, with options like being able to view your network topology. Here’s a visual representation of my 2 node network.
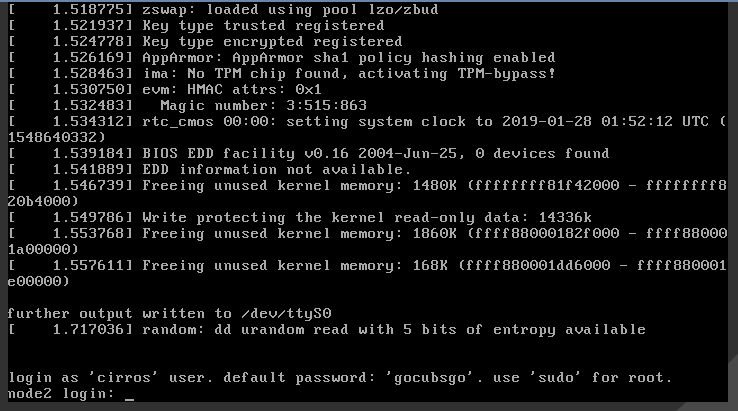
After learning how to create instances via the dashboard, I wanted to enable sshfor each of the instances so they could communicate. I assigned a floating IP address to both nodes and then logged into one of them via the dashboard’s instance console.
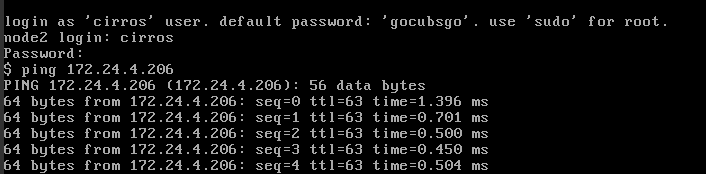
I did not attach a volume to either of these instances, so there’s no files for me to transfer or anything, but to test their connection I just pinged the floating IP of the other node to verify their connectivity.
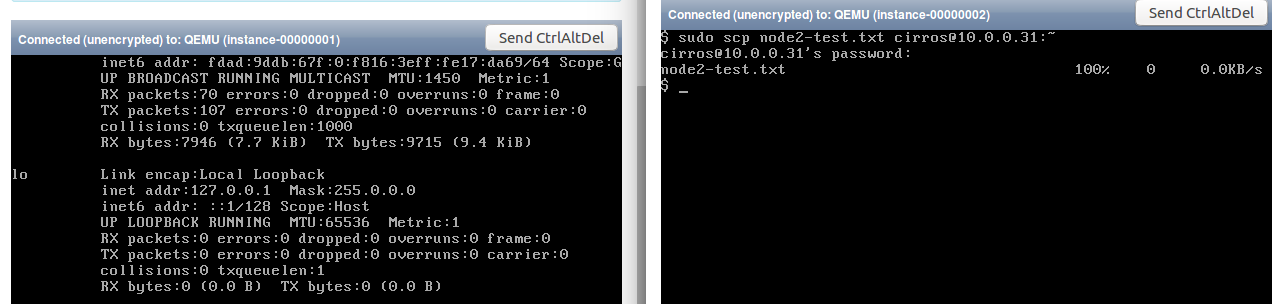
These first images had no storage space, so I deleted them and created 2 new instances with 5gb disk space. I then created 2 new 1GB volumes and atatched them to each instance. By default, these volumes have no filesystem no I ran the mkfs command on each instance’s volume and created an ext4 fielsystem on each and then mounted that volume for each.
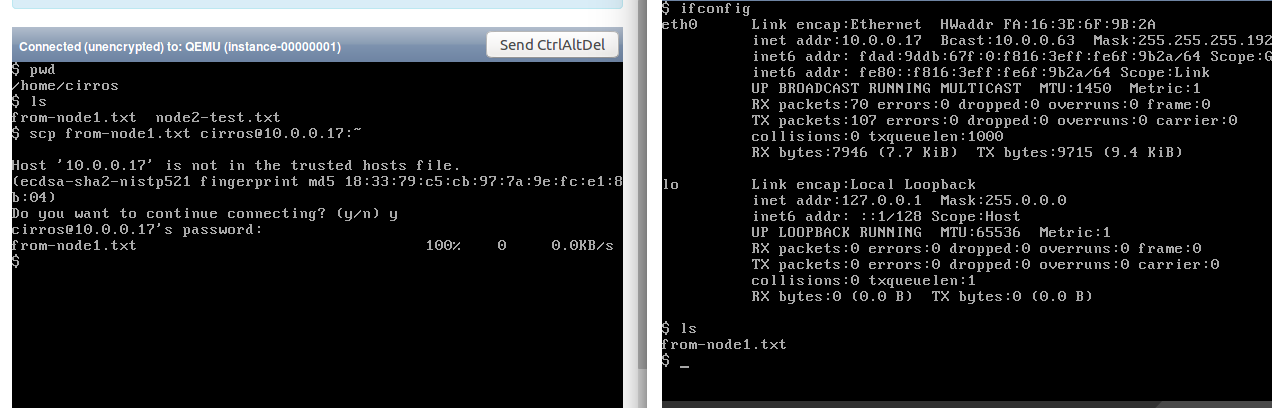
To test these new instances and their volumes I created a testfile on each and used scp to copy each file from one instance to another.
I just opened a console for each instance in Horizon Dashboard
Now that I have learned the basics of OpenStack and the Horizon dashboard, my next goal is to use the ssh access keys to connect to my mini cloud externally and learn how to use the CLI tools and Openstack’s REST API.
Thanks for Reading! --- @avcourt
Questions? Join my Discord server => discord.gg/5PfXqqr
Follow me on Twitter! => @avcourt